
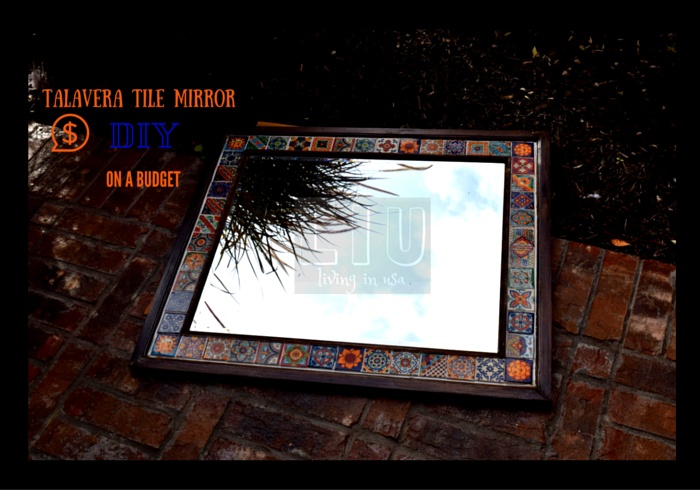

The entryway in our abode is narrow and needed a little help with organization. I was also on a quest to find mirrors with a tiny bit of Indian ethnic touch to it. After scouting through nearby stores and looking at the price tags I was not very happy with the choices. During my research for the perfect entry way mirror I found a Talavera tile mirror which I thought was perfect but the price not so much. So I decided to make our own framed mirror .We are very happy with the way it turned out. I tried to use a lot of products which were on hand and were leftover from our other projects.
The project took about 1.5 hours plus drying time.

Shopping List- Hyperlinked to the products we used
- Beveled mirror I found mine cheapest at Lowes
- Talavera Tiles – We decided to buy a mix of 1*1 tiles off eBay
- Liquid nails/Glue
- Project Board cut to size to accommodate mirror and tiles
- Wall and Cabinet Trim Moulding and this
- Paint/Stain – We used this
- Caulking – I used this since we had it on hand. Using wood filler maybe a better option
- Mirror hanging hardware
Link to the youtube Video
- Step 1- Lay out the mirror and tile on the project board to assess how you like it. Since the tiles are hand made they are not all the same. This helps it getting a rough idea of measurements. Then make sure it is all aligned and accurate before marking it to be cut. We had the project board already leftover from a previous project. We just cut it to size at home. Your local Home depot will do it for free. We cut the moulding in 45 degree angle to make a frame. This was the hardest part for us to do at home
- Step 2- Stain/Paint the trim so that you don’t ruin the tile or the mirror by trying to stain/paint after gluing. Touch-ups are easy.
- Step 3- GLUING. I started from gluing the mirror you can do it the other way by starting out from the outer frame if you are worried about damaging the mirror. I used liquid nails we had at home.
- Step 4- WAIT for it to dry and ensure the project board is on a flat surface with some weight on it. This took I think for EVER!
- Step 5- I used paintable caulking since I had it at home to fill any gaps or blemishes I saw. Woodfiller maybe a better option if you are out to buy supplies.
- Finally – Add the Mirror hanging hooks.
That’s it! Enjoy.
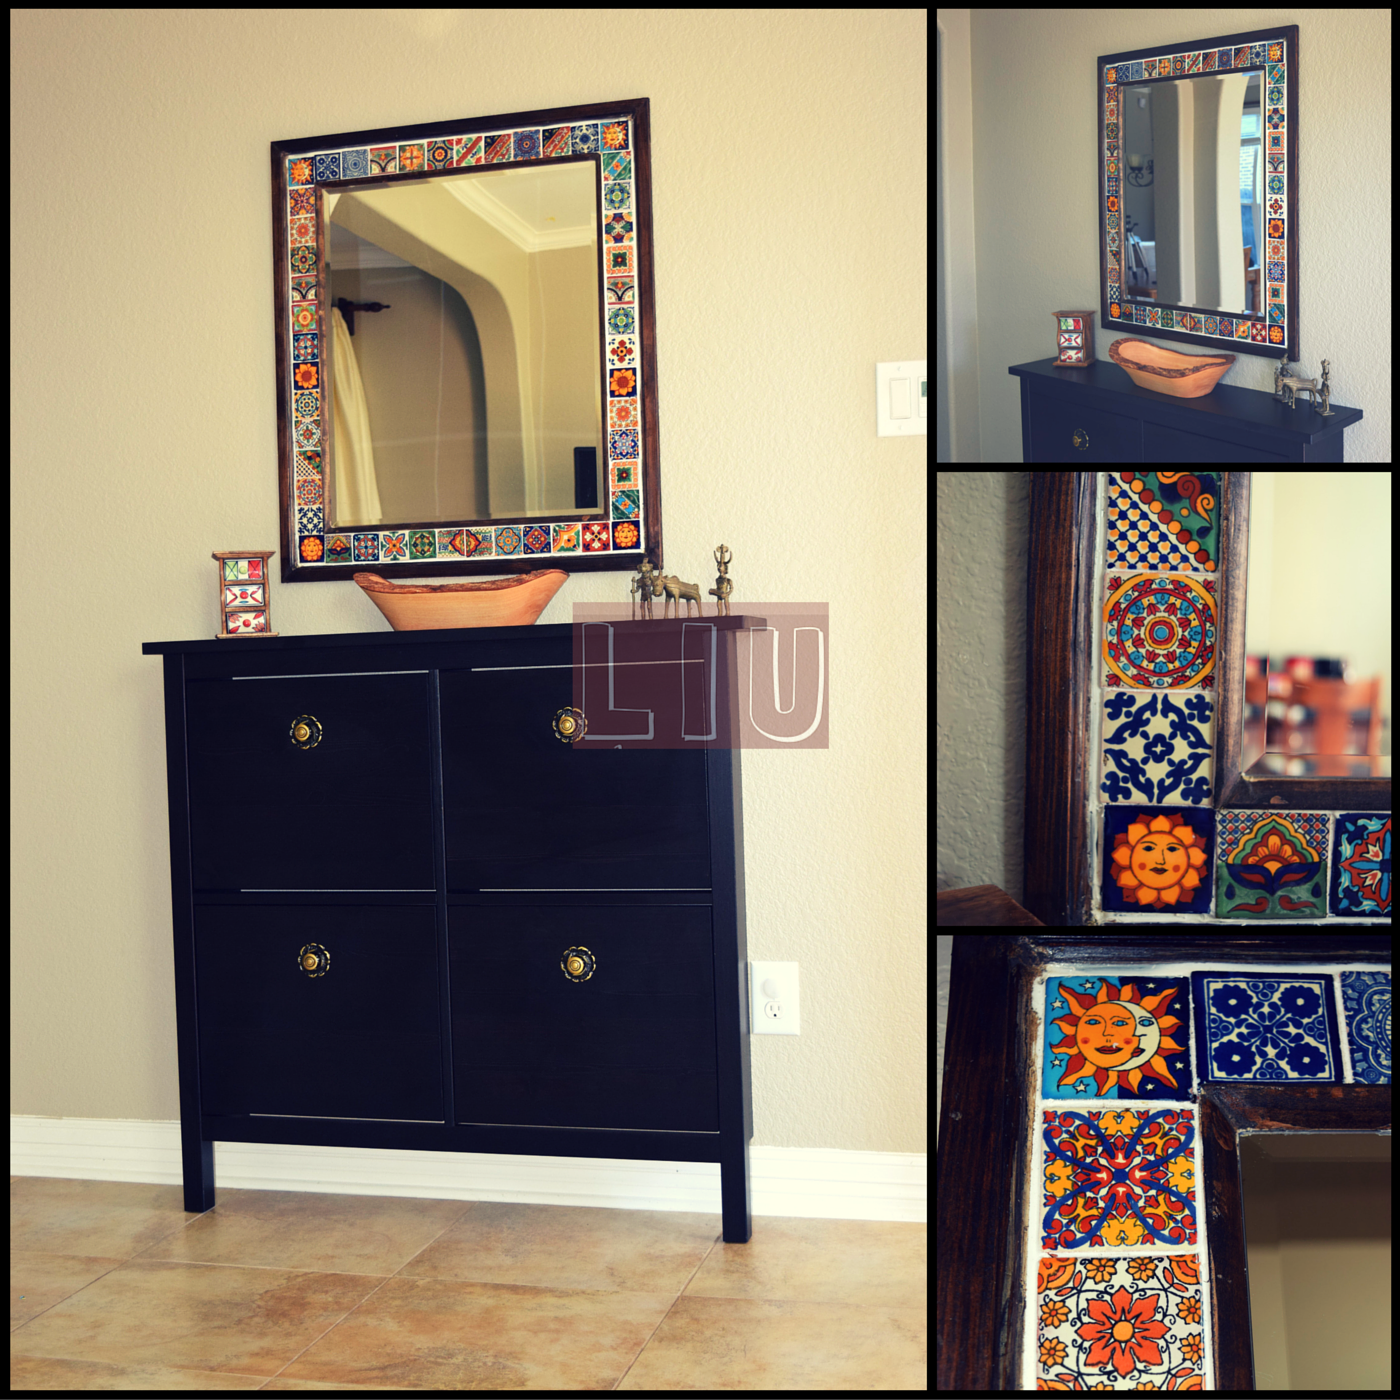
We bought a shoe organizer from IKEA and Changed the hardware. I have plans to make it look like a Catalog card holder in the future. But for now leave it as is. It holds most of our day-to-day shoes. The bowl to drop keys is from World market. I bought it while it was on sale with the coupon they send out on your birthday month. I really felt like I scored when I got it for $7 and some change. The small drawers are a gift from my grandfather.
I have plans to use the leftover tiles to make a towel rack in our master-bath. For now I am going to focus on organizing our son’s closet. That’s my next project.Stay tuned.


Prathyusha Patinjaryil
Fantastic …you are awesome.. Looking forward to many more creative posts!!!! Did you use 50 of the Tiles 2*2?
Swati Shukla
Yes I did. I bought the 100 mix. So I had plenty. I plan to make a few more projects with them.
Monica McCurdy
it says there’s a link to the youtube video but there’s no link…would love to see a video if you have one!